 |
||
|
|
|
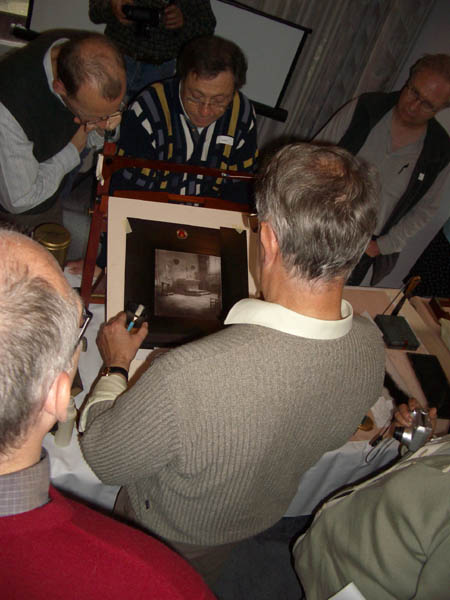
At the International Society of Bromoilists 2004 Hopperfest in Amsterdam RenÚ Smets gave a demonstration of his soft ink technique for Bromoil. I took some pictures and movies with my Pentax digital camera. I don’t have any way to edit the movies, so I’ll just present them as is. They are .avi files and will not stream--they have to be downloaded. Also, they are relatively large--2 to 10 megabytes--so you may need a high speed connection.
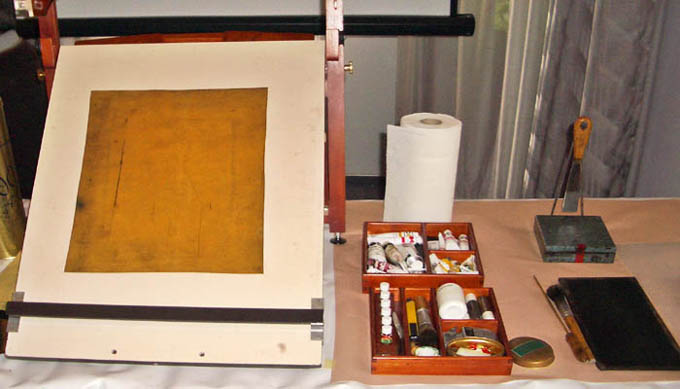
For the benefit of those who could not attend, I will share a few brief notes on RenÚ’s procedure, and I hope he will correct me if I have misunderstood some aspect of it. 1. RenÚ uses very soft ink, not quite liquid, but almost. He mixed a little red with black, using the ink knife hanging
on the right of the picture below. He keeps the ink covered when he is not inking, so it won’t dry out.
2.. The print is soaked in water at room temperature for about 5 minutes. Then hot water is added slowly until the temperature is about 40║C (104 ║F). The print is soaked at this higher temperature for about one minute. 3. He places a wet chamois leather on the work surface. The wet matrix goes directly onto the chamois, where it is surface dried using a sponge and paper towels. The wet chamois helps keep the print from drying out. The print is never resoaked during the inking. (The worksurface has a sliding bar that moves up and down about one centimetre above it--this serves as a movable rest that allows him to do hand work on the image without marring it.) 4. RenÚ has two pieces of L-shaped plastic that he uses as masks--so he doesn’t get ink on the margins of the print. These are taped to the worksurface, over the print. 5. Using what appeared to be a standard soft fitch bromoil brush, he dabs a modicum of ink from his main ink reservoir (the green square at the upper right of the image above) onto a piece of glass (bottom right). From the first spot of ink, he dabs ink onto a second spot. It is this second spot of ink that he uses for inking the matrix. 6. RenÚ uses the fitch brush to dab ink lightly all over the blank matrix. 7. RenÚ takes what appears to be a large stencil brush with the handle sawed off, and attaches a brass rod about 20 to 25 centimetres long, with a wooden handle on one end (lower right corner of image above). The stencil brush appears to be made of white hog bristle. 8. He then takes the stencil brush and pounds the matrix with it, redistributing ink from the swollen areas of the matrix to the tanned or hardened areas. The chamois underneath provides a cushion that may help prevent damage to the matrix. 9. Using the fitch brush, he adds ink to the dark areas as necessary, and pounds it further with the brush. Later, he mixes in more black ink to use on the deeper shadow areas. 10. To clear the high values he attaches a clean, dry stencil brush to his handle and pounds the matrix in a slightly different manner, using shorter strokes. Essentially, he “hops” the print. (See Video Six.) To lighten a large area, he moistens his clean brush slightly by brushing it across a damp sponge, and then hops the area to be lightened. 11. Further clearing may be accomplished manually using a wet piece of chamois or sponge, or using an eraser pencil (see Video Eight). When using the eraser pencil he always cleans it by brushing it across a damp sponge before touching it to the matrix. He always hops the print further after manual clearing. 12. As the print progresses, if an area needs darkening, he uses his inked brush (often without adding further ink to it) to ink the print, then hops again.
|
|||||||||||||||||||||||||||
|
|
|
|

